Quick Start
To start using Lab4Stamp online tools, you must first have a free . For your convenience, we offer registration in 1 (one) click via social networks (google account, facebook and linkedin) or email. If you already have an account, then you need to .
On the page you can easily create, edit or delete email signatures, send links to install signatures to your team or friends and much more.
If you want to create multiple signatures, we recommend using the , which requires entering common information for all signatures just once. Create a signature prototype by clicking on button Create in the prototype preview.
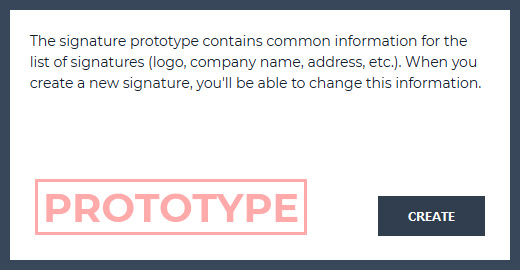
or in the top right, click on button Edit prototype.

After that, сreate a new signature by clicking on button Create signature, in the top right.

If you need only one signature, you don’t have to create a Signature prototype.
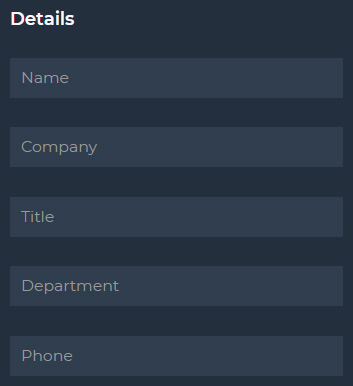
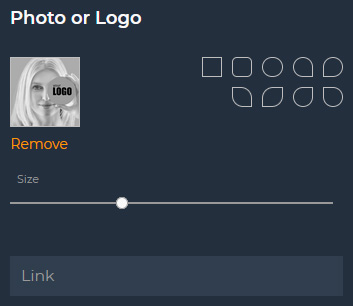
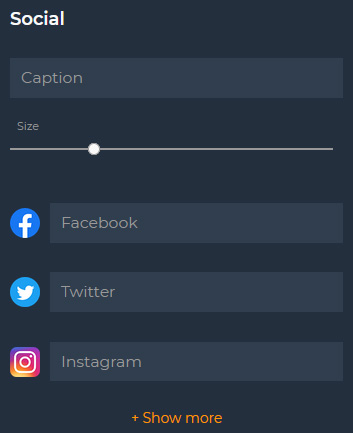
In the , add information about you and the company, upload a logo or a photo, add links to your social profiles and click Save.
On the Dashboard, hover the mouse cursor over the created signature and click on option Install (to go to the signature installation page) or on option Link (to send the signature installation link).


On the signature installation page, select your email client and install the signature following the step by step instruction.

If you have any questions or comments about this guide, please contact us at: .